There’s a world of deliciousness waiting for you in freshly baked baguettes, but without a traditional baguette pan, it can feel challenging to achieve that perfect shape and texture. Fortunately, you can still create stunning baguettes with just a few simple techniques that work in your own kitchen. By using common household items and adopting a few clever strategies, you’ll have your dough perfectly proofed and ready for baking. Get ready to impress with your handmade baguettes that taste as good as they look!
Key Takeaways:
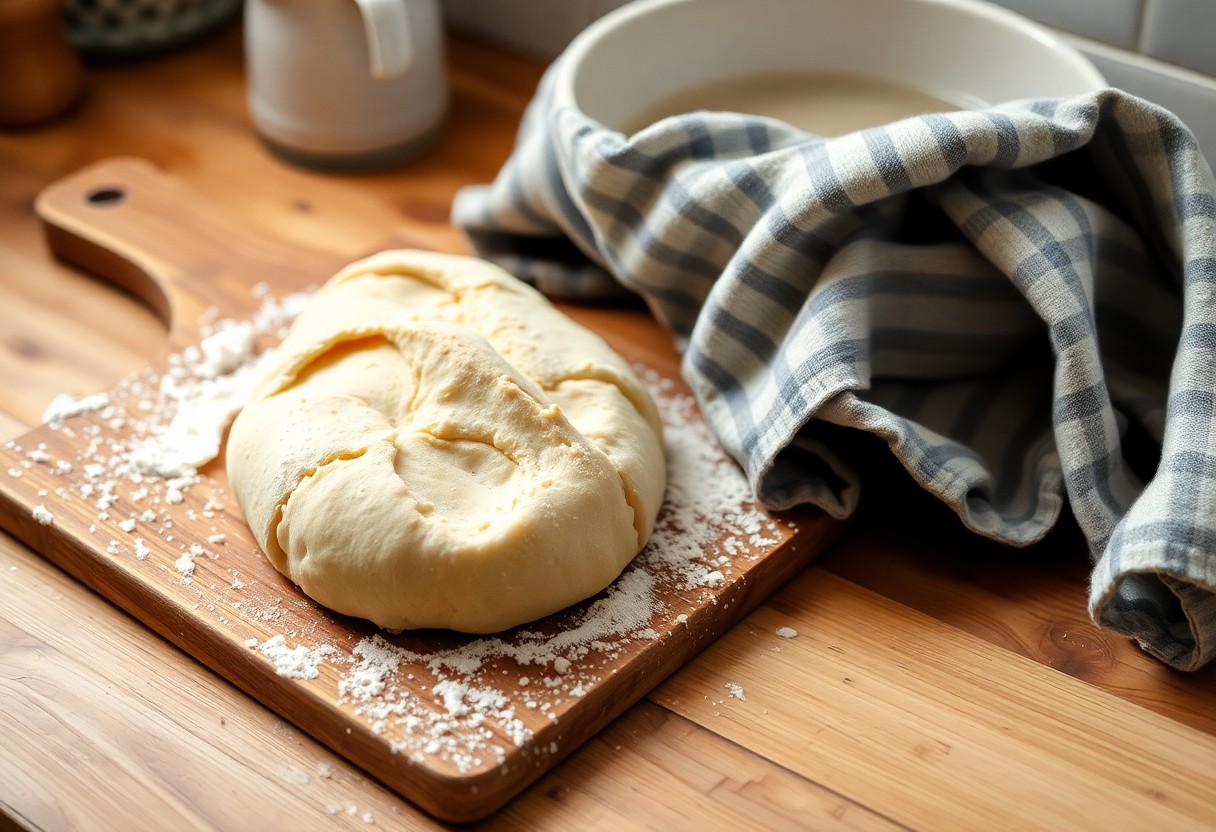
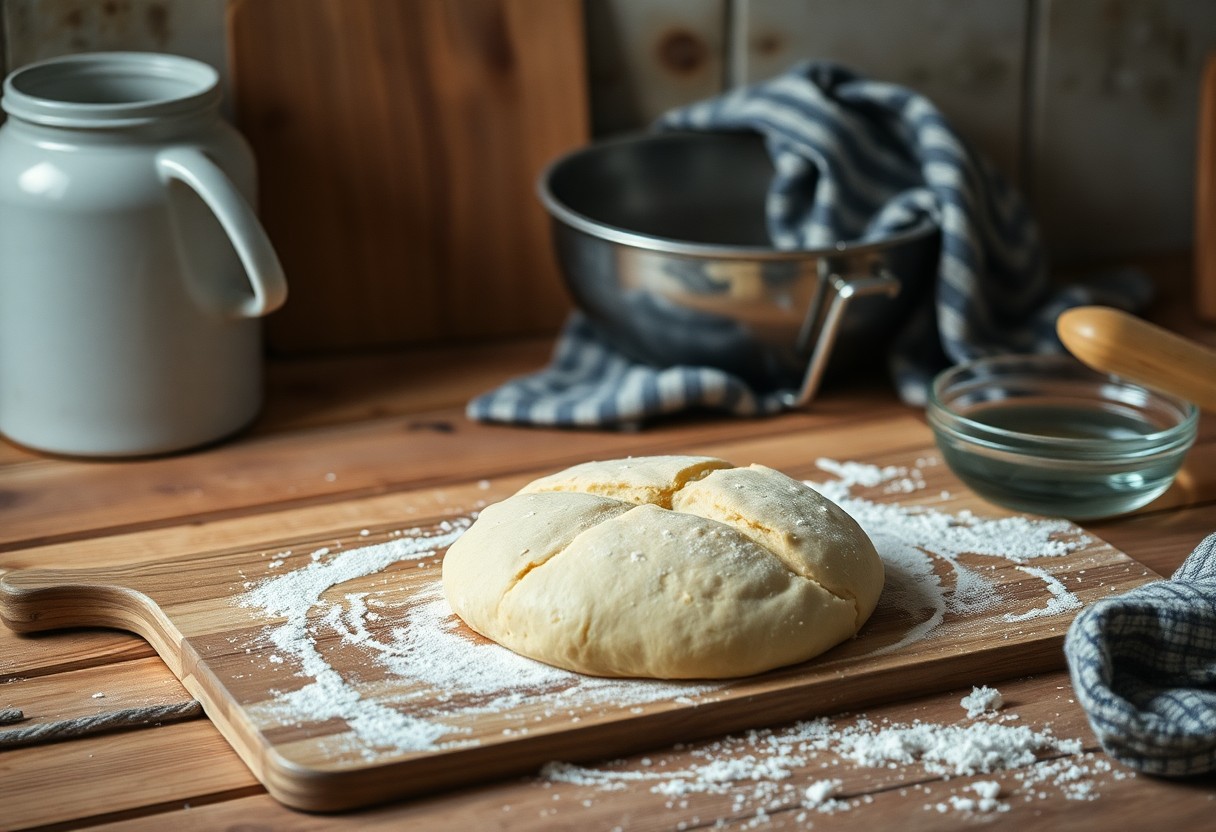
- Use a clean kitchen towel or a baking sheet with parchment paper to support baguettes during the proofing process.
- Incorporate a manageable level of humidity by placing a pan of water in the oven while proofing to create a suitable environment.
- Maintain the shape of the baguettes by using a minimal amount of flour and gently shaping dough to avoid deflation.
Mastering the Dough: The Foundation of a Perfect Baguette
Your baguette’s texture and flavor hinge on its dough. Mastering the dough involves understanding how each ingredient interacts, ensuring you achieve a crusty exterior and a chewy inside. A well-crafted baguette will have an airy structure that perfectly holds its shape during baking. Through proper technique and care, you’ll create a dough that not only rises beautifully but also develops a complex flavor profile that is simply irresistible.
Key Ingredients for Baguette Perfection
Water, flour, salt, and yeast form the crucial quartet for a classic baguette. Use high-protein bread flour for the ideal gluten structure that contributes to the bread’s chewiness. Combined with the right hydration level, usually between 60-70%, you’ll create that desirable open crumb. A touch of salt enhances flavor while also controlling fermentation, while fresh yeast initiates the fermentation process to develop those delightful flavors.
Essential Techniques for Dough Preparation
Preparation techniques set the stage for a successful baguette. Start with the autolyse method, combining water and flour to rest for 30 minutes, which helps with gluten formation. Incorporate salt and yeast afterward, ensuring thorough mixing for an even rise. Kneading should be thorough yet gentle, allowing the gluten to develop without overworking the dough. Lastly, bulk fermentation enables the dough to rise gradually, contributing to overall flavor and texture.
Autolyse, a technique where you hydrate flour and water before adding other ingredients, is crucial as it allows the flour to absorb moisture, leading to better gluten development. Mixing in your salt and yeast should be done manually; you can use a wet hand method to ensure it’s evenly distributed without over-kneading. Focus on the gluten windowpane test to check if your dough has reached the right elasticity. Opt for a long, slow fermentation, often up to 3 hours, which enriches flavor and creates those signature air pockets in your baguette.
The Art of Shaping: Sculpting the Perfect Baguette
Shaping your baguettes is a blend of technique and artistry that transforms your dough into the iconic French loaf. The goal is to create a structure that allows for expansion during baking while ensuring a beautiful finished product. This involves using gentle pressure to create tension on the outer surface of the dough, leading to a crisp crust and a light, airy interior.
Step-by-Step Shaping Techniques
Follow these crucial steps to shape your baguettes like a pro:
| 1. Pre-shaping: Gently flatten the dough into a rectangle. |
| 2. Folding: Fold the top third down to the middle, then the bottom third up, creating tension. |
| 3. Final shaping: Roll the dough into a long, cylindrical shape using your palms. |
Tips for Maintaining Structure and Uniformity
To ensure your baguettes rise evenly while maintaining their delicate structure, consider these practical tips:
- Use a gentle touch throughout the shaping process.
- Keep the surface lightly floured to prevent sticking.
- Allow for adequate resting between shaping and final proofing.
Recognizing the importance of balance between pressure and lightness can enhance your shaping skills significantly. Employ a consistent approach with your hands and try to maintain an even thickness as you roll your baguettes. Aim for uniformity by practicing and being mindful of the dough’s elasticity, which will contribute to an ideal loaf.
- Practice your shaping techniques regularly.
- Consider using a ruler for precise measurements in length.
- Experiment with different levels of tension to find your preferred method.
Recognizing that shaping is an enjoyable, creative process opens up a world of flavor and structure possibilities in your baguette-making journey. The finesse of your technique will ultimately dictate the final texture and crust of your bread. Continuous honing of these skills will lead to exceptional results, making homemade baguettes a delightful staple in your kitchen.
Creative Solutions for Home-Proofing Techniques
Even without a specialized baguette pan, you can achieve exceptional proofing results at home using a few creative solutions. Mastering these techniques ensures that your dough rises beautifully, boasting the distinct, airy texture that defines a perfect baguette. With simple adaptations and thoughtful adjustments to your environment, your homemade baguettes will impress with every bite.
Using Everyday Items as Alternatives to Baguette Pans
Household items can serve as excellent substitutes for traditional baguette pans. For instance, use a sturdy baking sheet lined with parchment paper to place your shaped baguettes. Alternatively, repurpose rolled-up kitchen towels or use the edges of an oven-safe pan to cradle your baguettes during the proofing stage. These creative solutions help support the dough’s shape, allowing for even rising.
Employing Environmental Controls for Optimal Proofing
Temperature and humidity play pivotal roles in the proofing process. Your kitchen’s environment directly affects how well your dough rises. Ideally, aim for a proofing temperature of around 75-80°F (24-27°C) and maintain humidity levels to keep the dough surface from drying out. If your kitchen is too cool, consider placing your dough in an oven turned off, accompanied by a bowl of hot water to create a warm, steamy environment.
Using this method not only encourages optimal yeast activity but also prevents crust formation on the dough’s surface. When employing environmental controls, you can experiment with different setups, such as using a heating pad set to low beneath your proofing container or covering the dough with a damp cloth to retain moisture. Keep an eye on the dough’s progress, as factors like room temperature may require adjusting your proofing time for best results.
Key Indicators of Readiness: Knowing When Dough is Ready to Bake
Understanding when your dough is ready for the oven can make or break your baguette baking experience. Look for specific signs that indicate the dough has properly proofed and developed flavor. The ideal texture, volume, and surface tension should all align to signal that it’s time to transition from proofing to baking. Being attentive to these indicators will lead to a baguette with a crisp crust and airy interior, achieving that bakery-quality result you’re striving for.
Visual and Textural Cues to Observe
As your dough proofs, observe its size and surface structure. It should expand noticeably, ideally doubling in volume, showcasing a smooth and slightly shiny exterior. When you lightly press your finger into the surface, it should leave a small indentation but should spring back gently, indicating that it has gained enough structure. Trust these visual and textural signs to guide you towards perfect baguette readiness.
How to Perform the Poke Test Effectively
The poke test is a simple method to check if your baguette dough is ready to bake. Lightly poke the dough with your finger about half an inch deep. If the indentation remains and doesn’t spring back, your dough is at its peak and ready for the oven. On the other hand, if it springs back quickly, it needs more time to proof. A well-timed poke test will help you avoid over-proofing and ensure your baguettes rise beautifully in the oven.
When executing the poke test, consider the feel of the dough. A properly proofed dough should feel light and airy; the indent should linger if the fermentation process has been successful. Conversely, if you notice the dough feels dense and doesn’t spring back at all, it suggests you may have over-proofed it, leading to a denser final product. This simple yet effective technique not only helps gauge readiness but also builds your confidence in baking authentic baguettes.
Baking Insights: Achieving the Ideal Crust and Texture
Perfecting your baguettes involves mastering the crust and texture, which starts with the right baking environment. For the best results, you need a hot oven paired with the right humidity. A high-temperature bake will yield a crust that is crispy and golden, while steam in the oven creates that necessary moisture to help achieve an inviting, airy interior. For guidance on achieving the best results, check out How to Make the Best Authentic French Baguettes at Home.
Best Practices for Oven Preheating and Steaming
Before you even consider placing your baguettes in the oven, proper preheating is crucial. Preheat your oven to a high temperature, typically around 475°F (245°C) or higher. Just before baking, introduce steam into the oven. You can do this by placing a tray of water at the base or spritzing water on the oven walls, which enhances steam distribution as your dough bakes. This steam environment creates that coveted crispy crust while maintaining the softness of the inner crumb.
Understanding Bake Times and Temperature Adjustments
Fine-tuning your bake time and temperature can make a significant difference in the final product. Start with a baking time of 20-25 minutes, but this might vary based on your oven’s calibration and the specific size and shape of your baguettes. If they brown too quickly, lower the temperature slightly; if they’re not browning adequately, a slight increase can help. Observing color and aroma will guide you better than a timer alone.
Understanding Bake Times and Temperature Adjustments
| Factor | Adjustment |
|---|---|
| Too Light | Increase temperature or extend bake time |
| Too Dark | Reduce temperature |
| Uneven Browning | Rotate baguettes halfway through baking |
| Thick Crust | Decrease steam or baking time |
Bake time adjustments can often be trial and error, particularly dealing with various oven models and dough conditions. Taking notes on what works for each batch can help create a more consistent outcome over time. Pay attention to how your dough reacts—lighter or denser dough may require barriers of time and temperature that benefit from routine experimentation to perfect your baking technique.
Conclusion
Considering all points, you can achieve perfectly proofed baguettes at home without a specialized pan. By utilizing everyday kitchen items like a baking sheet or a linen cloth, you can create an ideal environment for your dough to rise. Pay attention to your dough’s texture and the ambient conditions to ensure optimal results. With a bit of practice and attention to detail, you can enjoy homemade baguettes that rival those from a bakery, elevating your baking skills and impressing your family and friends.
FAQ
Q: What can I use as a substitute for a baguette pan when proofing?
A: If you don’t have a baguette pan, you can use a baking sheet lined with parchment paper. Additionally, a rolled-up towel placed on either side of your baguettes can help maintain their shape while they proof. Alternatively, a few individual loaf pans can work to keep the dough from spreading too much.
Q: How long should I proof my baguettes without a pan?
A: Generally, baguettes should be proofed for about 30 to 45 minutes, depending on the recipe and your kitchen’s temperature. You want the dough to become puffy and increase in volume, which indicates it’s ready for baking. Keeping a close eye on the dough, especially if using a warm environment, is advisable.
Q: What’s the best method to create a humid environment for proofing baguettes?
A: A great way to create humidity is by placing a pot of hot water on the bottom of your oven (turned off) while the baguettes proof inside. Alternatively, you can mist the dough lightly with water before covering it with a damp cloth or plastic wrap to retain moisture. This environment will help achieve a better crust during baking.
Q: How can I ensure my baguettes don’t lose shape during proofing?
A: To maintain the shape of your baguettes during proofing, make sure to handle the dough gently and avoid overworking it. Using a cloth or towel to cover the dough will prevent it from drying out and allow it to rise without spreading too much. Keeping the baguettes well-supported with the towel method on a flat surface can also help maintain their form.
Q: How do I know when my baguettes are properly proofed?
A: Your baguettes are properly proofed when they have noticeably increased in size and have a slight jiggle when you gently shake them. You can also do the “finger poke test” – if you lightly poke the dough with a floured finger, the indentation should spring back slowly. If it springs back quickly, it needs more time; if it doesn’t spring back at all, it may be over-proofed.

Alden Pierce is a passionate home cook and the creator of Cooking Again. He loves sharing easy recipes, practical cooking tips, and honest kitchen gear reviews to help others enjoy cooking with confidence and creativity. When he’s not in the kitchen, Alden enjoys exploring new cuisines and finding inspiration in everyday meals.