Whipped Cream: The Unsung Hero of Desserts
Whipped cream often plays a supporting role in the dessert world, but it can transform your sweet creations into something spectacular. As a versatile topping, it enhances everything from rich chocolate cakes to fruit tarts, bringing a lightness that contrasts beautifully with denser textures. With less than 50 calories per tablespoon, it elevates a simple dessert without overwhelming your palate. Experimenting with flavored whipped creams, like vanilla bean or almond, can add new dimensions that surprise and delight your guests. The luxury of homemade whipped cream is that you control its sweetness and flavor, ensuring it perfectly complements your culinary masterpieces.
Key Takeaways:
- Using a cold blender and chilled heavy cream helps achieve the best texture and consistency for whipped cream.
- Add sugar and vanilla extract to enhance the flavor of the whipped cream while blending.
- Blend in short bursts and keep an eye on the mixture to prevent overwhipping, which can lead to a gritty texture or even turning into butter.
Choosing the Right Ingredients for Maximum Flavor
Elevating your whipped cream starts with selecting the best ingredients. Opt for high-quality components that not only compliment each other but also enhance the overall flavor. This isn’t just about the cream; every ingredient plays a role that can transform a simple topping into a gourmet delight. Aim for fresh items that provide rich taste and texture, ensuring your whipped cream becomes the star of your desserts.
Selecting Fresh Cream
Fresh cream is vital for achieving the light, airy texture you crave in whipped cream. Look for heavy cream with at least 36% fat content, as this will whip up perfectly and hold its shape beautifully. Check the expiration date before purchasing and try to buy locally sourced cream whenever possible, as it tends to be richer and more flavorful than longer-stored alternatives.
Sweeteners That Elevate Your Whipped Cream
The sweetener you choose can dramatically influence the flavor of your whipped cream. While granulated sugar is a classic option, alternatives like honey, maple syrup, or even powdered sugar can add their unique flair. Experimenting with flavored sugars or natural sweeteners can create interesting twists, enhancing not just sweetness but also introducing new taste profiles that complement your desserts beautifully.
For example, using honey adds a subtle floral nuance, while maple syrup gives a warm, woodsy flavor that can elevate your whipped cream into something truly special. Additionally, consider incorporating vanilla extract or flavored syrups to further enhance the sweetener’s flavor, creating a delicious synergy that pairs wonderfully with everything from pies to cakes to fresh berries.

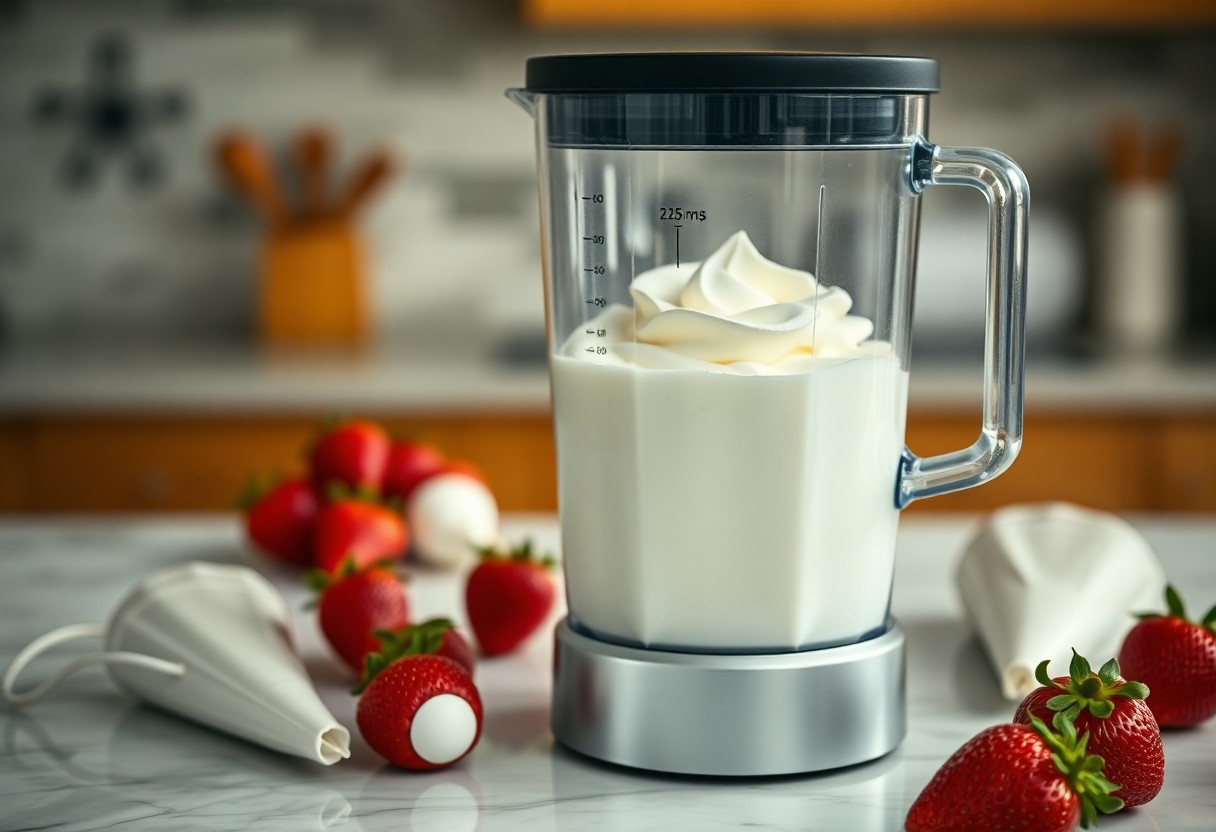
The Blender Method: Tools and Setup
To successfully whip cream in a blender, having the right setup and tools is necessary. Start with a high-speed blender capable of creating the necessary air pressure for perfect whipped cream. Ensure your measuring tools, such as cups and spoons, are at hand for accurately combining ingredients. Finally, make sure to keep everything chilled, as this will facilitate a fluffy texture and quicker whip time.
Essential Blender Features
A good blender for whipping cream should have a strong motor and sharp blades. It is particularly helpful if your blender has a lid that fits snugly, minimizing any splatter of cream during the blending process. Additionally, features like variable speed settings allow you to control the whipping intensity, preventing over-whipping and yielding a perfect consistency.
Preparing Your Blender for Success
Your blender must be prepped and chilled to achieve optimal results. Start by placing both the blender jar and the blades in the refrigerator or freezer for about 10 to 15 minutes before you begin. This slight cooling increases the overall efficiency of whipping cream. After chilling, ensure the jar is clean and dry, as any moisture can affect the whipping process.
Taking the time to cool your blender not only boosts performance but also helps maintain the temperature of the heavy cream while whipping. A cold environment prevents the fat in the cream from melting, which can lead to a soupy texture rather than the desired fluffy peaks. If you want unparalleled results, consider chilling your cream as well so everything is at a similar, icy temperature when you start blending. This setup makes a noticeable difference in the final whipped cream texture, ensuring it holds up beautifully for your desserts.
Step-by-Step: The Blender Whipping Process
| Step | Action |
|---|---|
| 1 | Chill your blender jug and blades for about 10-15 minutes in the freezer. |
| 2 | Add your cold heavy cream, sugar, and any flavorings to the blender. |
| 3 | Select a low speed, gradually increasing as the mixture starts thickening. |
| 4 | Stop intermittently to scrape down the sides for even mixing. |
| 5 | Continue blending until you achieve soft peaks or your desired consistency. |
Proper Mixing Techniques
Achieving the perfect whipped cream in a blender hinges on your mixing techniques. Start by using the lowest speed to introduce air gently, which is crucial for building volume without splattering. Once the cream begins to thicken, gradually increase the speed. Scraping the sides of the blender is equally important, allowing all the cream to be consistently mixed and whipped to perfection. This method ensures that you don’t over-whip any portions, making for a smooth, luscious texture.
Timing and Texture: Knowing When It’s Done
Watch the transformation happen as you whip cream; timing is everything to nail that ideal consistency. Look for soft peaks that gently hold their shape, indicating it’s ready for your favorite dessert. If you prefer a firmer consistency, continue blending cautiously; however, over-whipping leads to grainy or butter-like textures, which is a result best avoided.
To fine-tune your whipped cream timing, pay close attention around the 1 to 2-minute mark as you blend. You’ll notice the cream moves from liquid to a frothy stage, finally forming soft peaks, which means it’s still airy and light. If you want a sturdier cream to pipe decorations, aim for firm peaks, but be vigilant—going beyond this point results in a grainy texture, indicating potential over-whipping. Finding your perfect balance ensures that your whipped cream retains that delightful smoothness with the right body for all your culinary applications.
Customizing Your Whipped Cream Experience
Enhancing your whipped cream goes beyond the basic recipe, allowing you to tailor it to your taste and dietary requirements. Infusing flavors and experimenting with alternatives can elevate your desserts to gourmet status. By adding your own twist, you can create personalized whipped cream that complements your favorite sweets perfectly.
Flavor Additions: From Vanilla to Chocolate
Flavoring your whipped cream is a delicious way to make it stand out. A splash of vanilla extract adds a classic touch, while cocoa powder can transform your whipped cream into a rich chocolate delight. Other options include almond extract for a nutty twist, or even pureed fruits for a fresh and fruity version. Discovering flavor combinations that excite your palate can make all the difference.
Dietary Alternatives: Dairy-Free and Beyond
For those avoiding dairy, there are excellent options to create whipped cream without any milk products. Coconut cream, chilled and whipped, offers a rich texture and tropical taste, while almond or cashew creams can be used for a similar effect. Experimenting with these alternatives not only accommodates dietary needs but also introduces exciting new flavors to your desserts.
Using dairy-free alternatives opens a world of possibilities. Coconut cream is particularly popular because it whips up similar to traditional cream, with a luscious texture and taste. To use this option, refrigerate a can of full-fat coconut milk overnight to separate the cream from the liquid. Simply scoop the solidified cream into your blender, and whip it up as you would with regular cream. This way, you can enjoy light and fluffy whipped toppings with absolutely no dairy, making it perfect for vegans and lactose-intolerant folks alike. Don’t shy away from adding sugars or extracts, as these will enhance the natural sweetness and flavor of your coconut-based creation.
Tips and Tricks for Avoiding Common Pitfalls
Whipping cream in a blender can be easy, but there are a few common pitfalls that can lead to unsatisfactory results. To ensure your whipped cream is always heavenly light and fluffy, follow these practical tips:
- Always start with thoroughly chilled ingredients and equipment.
- Use a high-fat cream (at least 36% fat) for best results.
- Keep your speed low at first to prevent splatters, then gradually increase.
- Monitor closely to avoid overwhipping.
This will help you achieve the perfect whipped cream. For additional tips, check out this article on Blender Whipped Cream.
Watching Out for Overwhipping
As you whip the cream, pay attention to its texture. Overwhipping can quickly turn your creamy delight into a grainy mess, resembling butter rather than silky whipped cream. To avoid this, watch closely as the cream begins to form soft peaks. Stop when it holds its shape well but is still smooth and airy.
Storing Whipped Cream Effectively
For storing, use an airtight container to keep your whipped cream safe from odor absorption and drying out. It can last in the fridge for up to 3 days when stored correctly. Consider lightly pressing a piece of plastic wrap against the surface before sealing the container for added freshness.
Keep in mind that whipped cream tends to lose its volume over time, so a good practice is to make only the amount you need or use stabilizers if you plan to store it for longer. Enjoy your fluffy creation at its best, and when you’re ready to serve, just give it a quick whip to restore that delightful texture! Quality storage will ensure your whipped cream remains enjoyable for as long as possible.
Conclusion
Drawing together all the tips and techniques, making perfect whipped cream in a blender is not only easy but also efficient. By using the right speed and ingredients, you can achieve that light, fluffy texture you desire. Whether you’re topping desserts or enhancing your beverages, with a few simple steps, you can elevate your culinary creations. So, next time you need whipped cream, grab your blender and enjoy the delightful results that will impress your family and friends.
FAQ
Q: Can I use any type of cream for making whipped cream in a blender?
A: For the best results, it’s recommended to use heavy whipping cream, which has a higher fat content (usually around 36-40%). This allows for better stability and volume when whipped. Avoid light creams or half-and-half as they won’t whip properly.
Q: How long does it take to whip cream in a blender?
A: Typically, it takes about 1-3 minutes to whip cream in a blender. Start on a low speed and gradually increase to medium-high. Watch closely to avoid over-whipping, as the cream can quickly transform into butter if blended too long.
Q: Do I need to chill my blender before making whipped cream?
A: Chilling your blender and any attachments, like the blade or jar, can help improve the whipping process. Cold temperatures help maintain the cream’s consistency while whipping. Consider placing your blender components in the freezer for about 15 minutes before starting.
Q: Can I flavor my whipped cream while blending it?
A: Absolutely! You can add flavorings such as vanilla extract, cocoa powder, or sweeteners like powdered sugar right into the blender with the cream. Start with a teaspoon of vanilla or 1-2 tablespoons of sugar and adjust to taste. Just ensure all ingredients are combined evenly.
Q: How can I store leftover whipped cream?
A: To store leftover whipped cream, place it in an airtight container and refrigerate. It’s best used within 2-3 days. If the cream separates, simply re-whip it gently before serving to restore its texture. If you need to keep it longer, consider freezing it for up to a month, then thaw in the refrigerator when ready to use.

Alden Pierce is a passionate home cook and the creator of Cooking Again. He loves sharing easy recipes, practical cooking tips, and honest kitchen gear reviews to help others enjoy cooking with confidence and creativity. When he’s not in the kitchen, Alden enjoys exploring new cuisines and finding inspiration in everyday meals.